 Export to PDF
What makes the perfect pitch? Is it the constant bounce, the colour of the turf, the hardness of the soil, or simply the first impression?
Well, that all depends on which player you ask.
In order for us to create the perfect cricket pitch for the ultimate wicket, we utilise the same practices all year round, with small tweaks if and when required.
Here’s how we make the perfect cricket pitch:
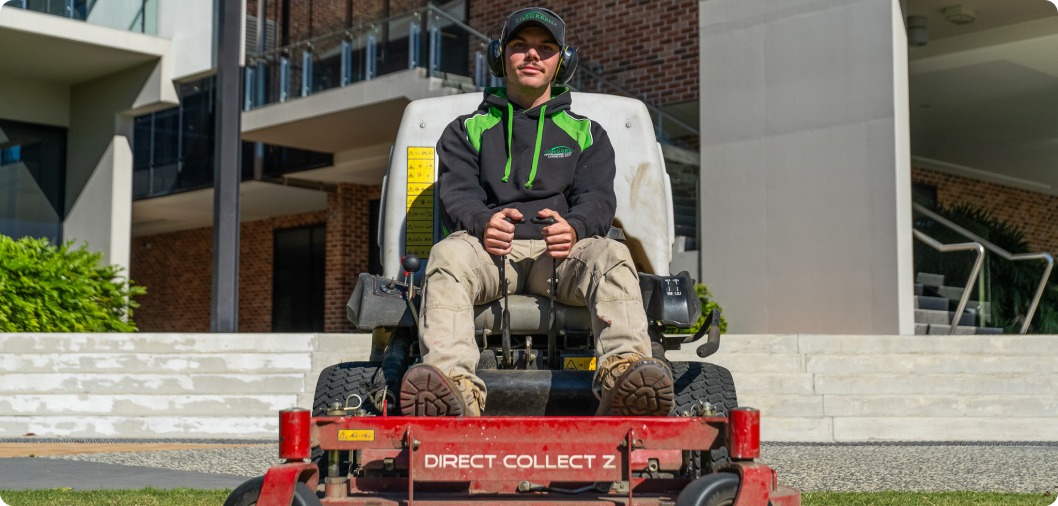
Mowing Your Perfect Cricket Pitch

Perfect Cricket Pitch Preparation
Game day on a Saturday? Follow our pitch preparation process:
MONDAY
1. Select your pitch. Always try to use your best pitch for playing, and avoid a wicket next to a previously used pitch. E.g., If you have 5 cricket pitches, your pitch rotation might look like this: Pitch 1 – pitch 3 – pitch 5 – pitch 2 – pitch 4 – pitch 1 (and so on).
2. Check the weather forecast. Too many managers get caught out with this. If you know rain or showers are coming, you need to have a plan in place.
3. String line up and double-cut mow your pitch. Don’t forget to keep your clippings.
4. You want to water and soak your pitch on Monday. If you want to seal your pitch on Tuesday, you will get to know how much water you need and how late you can water.
TUESDAY
1. Check your pitch to see if it is ready to seal. To test if it’s ready, the first step is to walk down your pitch fully to see if you can bring any moisture to the surface with your body weight. If you do bring up water, the best option is to wait and check roughly every 30 minutes. If no water comes to the surface, the next step is to check if the soil will stick to your fingers. If the soil does stick to your fingers, you are ready to seal. If the soil is not sticking, more water may be required. All you should need here is a light amount of water to get the soil wet.
2. Broadcast your clippings evenly over your pitch, making sure all soil is covered. This will bring out a better colour for your pitch. You want to move quickly as it won’t take much for the topsoil to dry out during hot conditions.
3. Begin to roll your pitch. The best practice is to start light and go heavier as time goes on. A light hand roller or the cylinder mower roller works best. You want to be quick with your first roll. Your objective is to get your clipping sealed. Once you have done the whole wicket start rolling for 1 hour, 3 times that day. Slow rolling is required to get the best compaction. Your pitch is soft and needs to be compacted and hardened up. It should take you roughly 20 minutes to go across your wicket. Rolling should be done by going up your string line parallel to the string line, then coming back on the angle.
4. Put covers on at the end of the day. This will help you get a better night’s sleep knowing you have it protected. You may want to use hessian on your pitch to help absorb any sweating under the covers.
5. If you have decided to seal on Wednesday, you will want to give your pitch a good soak in the afternoon. (Again, you will get to learn the amount your pitch needs over time.)
WEDNESDAY
1. If you’re sealing today, use the same process as Tuesday.
2. Otherwise, today is just a rolling day. Another 1 hour-roll, 2 to 3 times a day is required.
3. You will start to notice your pitch is sinking compared to the rest of the block, this is good. You’re now getting the compaction.
4. Place covers on at the end of the day.
THURSDAY
1. Give your pitch a mow with the cylinder mower. You should have some growth from your grass. If you need to fix up any areas on your pitch from scalping, give the areas a little water and reseal with the clipping from the mowing.
2. 2 x 45 minutes to 1-hour rolls should be done today.
3. Today is a good day to do your pitch marking. This should take you 1 to 2 hours depending on the markers experience.
4. Place covers and hessians on.
FRIDAY
1. This is the day to get all your block and pitch mowing done. The block should be mown at a different height from your pitch – somewhere between 8 to 12mm.
2. Check all your pitch markings are done.
3. Check your pitch hardness. You should be able to kneel and not feel your knee moving the surface. If this is the case, your pitch is good to go.
4. Roll as needed, but it’s always good practice to get a few rolls done before play commences on Saturday.
And repeat!
Now you have all the info you need for preparing the perfect cricket pitch. Need some help? We love making the perfect cricket pitch for schools and professional organisations.


